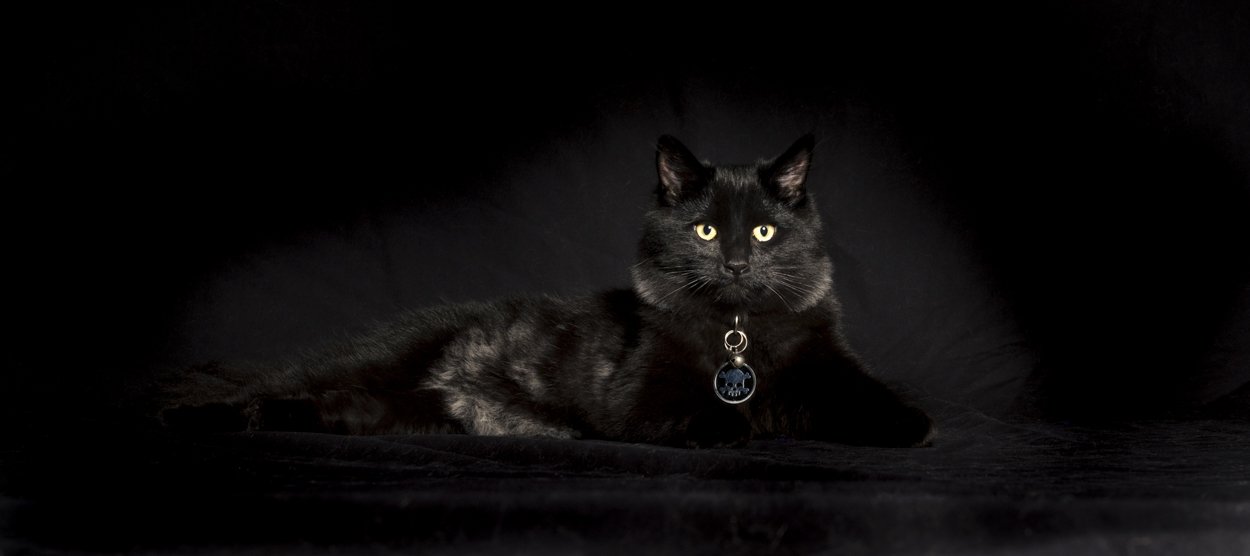
How to Set Up Lighting for Pet Photography
Welcome to the world of pet photography, where capturing the essence of our furry friends requires not just a love for animals but also an understanding of how to make them shine—literally. At Crimson Cat Studios in Denver, Colorado, we specialize in bringing out the best in your pets through photography. Today, we're sharing our top tips on the pet photography lighting setup to help you capture stunning photos, whether you're a professional or just starting to explore the wonders of pet photography.
“Photography is the art of capturing light and shadow.
Pet photography is the art of capturing light, shadow, and fur.”
Pet Photography Lighting: The Basics
Before diving into specific setups, it's crucial to understand the basics of pet photography lighting. Good lighting can accentuate your pet's best features, create mood, and bring out their unique personality. It's about finding the right balance and type of light to complement your subject.
Natural Light Setup
Natural light is a powerful tool for pet photography, providing a soft, flattering light that pets respond well to. Here are our tips for using natural light:
Best Time of Day: Shoot during the golden hour—shortly after sunrise or before sunset—for warm, soft light.
Location Matters: Position your pet near a large window or an open door. The idea is to use indirect natural light to avoid harsh shadows.
Outdoor Considerations: On overcast days, the clouds act as a natural diffuser, making it perfect for outdoor shoots.
Studio Light Setup
When natural light isn't enough or you're looking for a more controlled environment, a studio light setup comes into play. Here's how to get started:
Main Light Source: Start with a single light source. Position it at a 45-degree angle to your pet to create depth and dimension.
Fill Light: Use a reflector or a second, softer light source to fill in shadows, ensuring the pet's features are clearly visible.
Background Lighting: Consider using a background light to separate your pet from the backdrop, adding depth to your photos.
One Light Setup Tips
For many pet photographers, especially beginners, a one-light setup is a great way to start. Here's how to maximize it:
Softbox is Key: Attach a softbox to your light source to soften the shadows and create a flattering light on your pet.
Experiment with Angles: Moving your light source around can dramatically change the look of your photo. Experiment to find the best angle for your subject.
Use Reflectors: Bounce light back onto your pet with a reflector to lighten shadows without needing another light source.
Mobile Phone Lighting
Don't have professional lighting equipment? Your mobile phone can work wonders too. Here are some mobile phone lighting tips:
Use Natural Light: As with professional photography, natural light works best. Use the tips mentioned above to find the best light.
External LED Lights: Invest in an external LED light for your phone to enhance your pet photography, especially in low-light conditions.
Editing Apps: Use mobile editing apps to adjust the brightness, contrast, and shadows to mimic professional lighting effects.
Conclusion
Mastering the art of pet photography lighting takes time and practice. Whether you're utilizing the golden glow of natural light, the controlled ambiance of studio lighting, or making the most of your mobile phone, each setup offers unique opportunities to showcase your pet's personality. At Crimson Cat Studios, we believe that with patience, practice, and a bit of creativity, anyone can capture breathtaking photos of their furry friends. So grab your camera, find your light, and start shooting! Remember, the most important element in pet photography is to have fun and bond with your pet throughout the process. Happy shooting!


